What’s even better is that you don’t need an expensive DSLR camera or a complicated food photography setup to snap appealing photos of your food – all that’s required is some creativity with the types of food styling that you use, a smartphone, and some knowledge of food photography basics.
Food styling and food photography
When it comes to creating tantalising-looking dishes, food photography and plating go hand-in-hand.
To get acquainted with the essentials of modern food plating, read our post on creative plating ideas. In this article, take a deep dive into various plating concepts with us – and discover helpful tips on how you can capture the perfect shots of your exquisitely plated culinary creations.

Food photography tip 1: Plan your dishes and shots
Before tossing elements of your dish onto a plate and “seeing what works”, it’s a good idea to plan and visualise the possibilities. Think about the ingredients you’re working with, and the colours and textures you have – then sketch it out to visualise how the end result will look like.
For more inspiration, read food magazines and blogs for the latest plating trends – and think of how you can apply some of these ideas into your own dishes. Planning your plating will also save you time that would otherwise have been spent on multiple photography sessions, set ups and test shots.

Food photography tip 2: Create colour themes to make dishes stand out
Colour is an important part of any photo – especially so, when you’re taking food photos that you intend to share with online audiences who are viewing your photos on their brightly lit, high resolution screens (i.e., any modern smartphone display).
Remember, “colour” doesn’t necessarily mean “colourful”. Rather than creating dishes and photos with a wide array of colours – focus on complementary colours, so each dish can truly stand out based on its colour theme.
In fact, one common “trick” that chefs use with dishes that have mundane ingredients is to create an appealing colour theme for the dish – as this can immediately elevate its appeal and make it look amazing! Another idea is to use surrounding elements (like napkins, tablecloth, utensils) to add complementary colours that bring your dish to life.

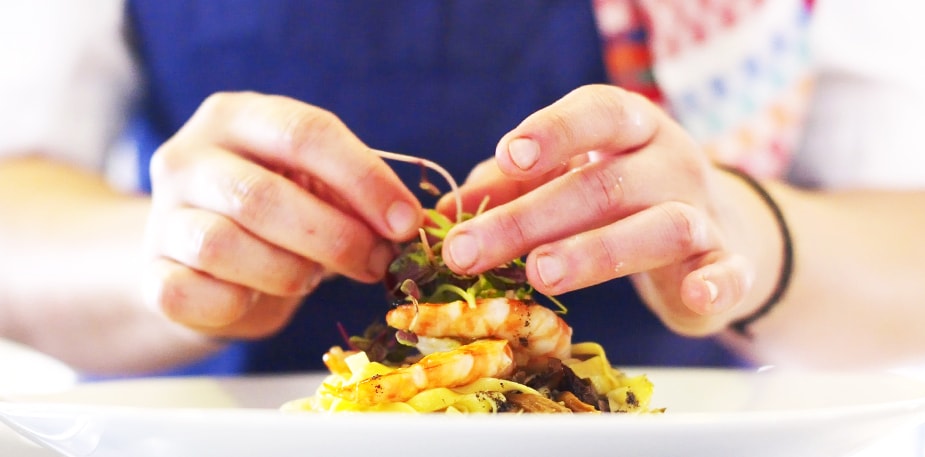
Food photography tip 3: Get up close and highlight your key ingredient
This is especially useful when you have a “star ingredient” to call out, like the succulent crab in your chilli crab dish or the premium durian on your shaved ice dessert.
This means balancing the portion sizes of all other elements, and making sure that your star ingredient stands out among all the elements (and stands out among other key ingredients in your menu, too).
When taking photos, remember get up close to your food, and especially your star ingredient. In most cases, the tighter your shot, the better your outcome – so zoom in to capture the juicy details of that prime rib or vibrant colour of your mango puree!

Food photography tip 4: Use natural lighting, wherever possible
Every professional photographer will tell you that lighting is a key component of any shot. This is extra important for food photography, as most restaurants have lighting that emphasises the dining experience, not photography. And without dedicated photography and lighting equipment, this often results in photos that are either too dark or overexposed with flash – both of which, will result in a lack of detail and “flavour” in your food photos.
Find a spot with good natural lighting (i.e., sunlight) to take your shots. This can be near a window or in your outdoor seating area. Don’t have either of these? Simply take your food out of the restaurant so you can get some fantastic close-ups! Remember, your food photography should emphasise your food above everything else.
Want to show off your restaurant too? You can easily do that with other shots of your establishment’s ambience, servers and diners (your food photography shots don’t have to do that job).

Food photography tip 5: Enhance your food photography with editing
Concerned about the lack of effects and aesthetic touches in your photos, compared to the shots taken on a high-end DLSR? You can achieve many of the same effects, while also enhancing your photos, using photo editing apps.
From adding beautiful bokeh to applying filters and tweaking the contrast and colours to complement your ingredients, there’s a lot that you can achieve using modern apps. With a well-planned artistic direction, you can even create a unique visual style that distinctly represents your dishes and dining establishment – setting you apart from the competition.
Use your photos (and filters) to create engaging stories that will capture your followers’ attention, and enchant them into becoming your diners.

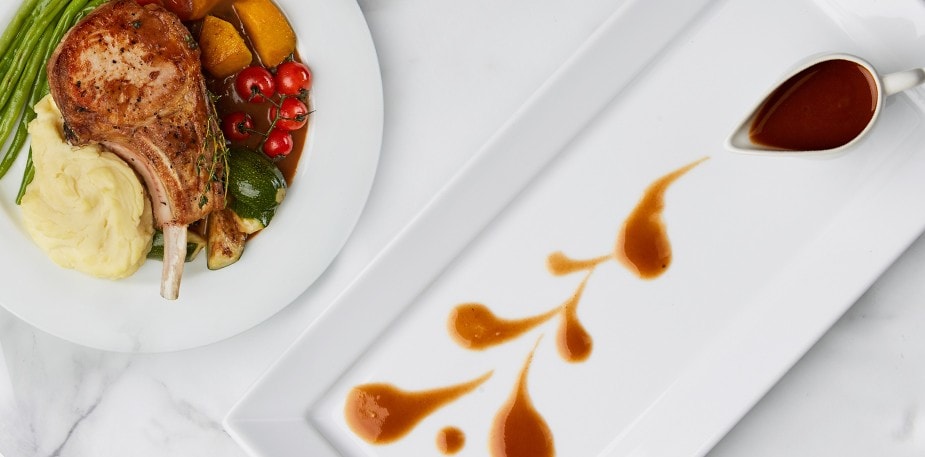
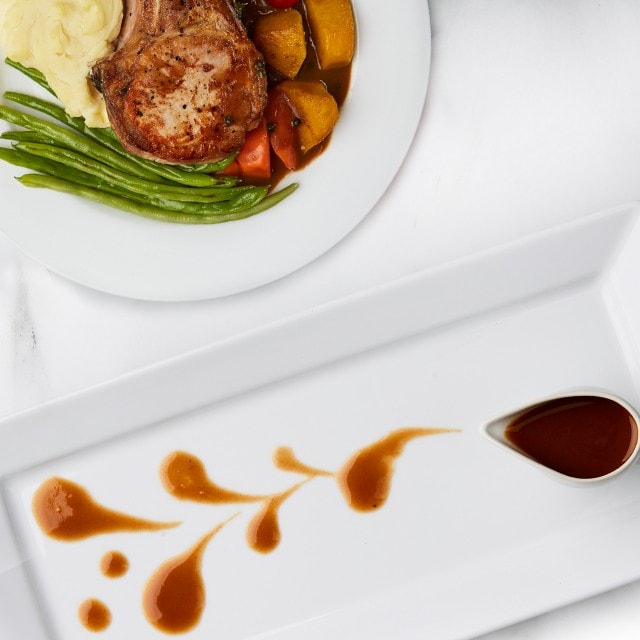
Food photography tip 6: Use sauce plating techniques to decorate your dish
How you serve your sauce matters too! Aside from creating an additional layer of flavour and depth, sauce plating can also be used for decorative purposes.
Just be sure to match your sauce plating style with the dish that comes with. For example, a splatter design could go well with a fusion dish, while a swirl design may go well with more traditional dishes.
With that said, feel free to break the rules and create your own mix of food and sauce plating – and give your diners a pleasant surprise!
More food photography tips
Interested in discovering more photography tricks for food, learning how to create your own food photography setup, and more? Dive into our Social Media Food Photography for Chefs course, where professional food photographer Remko Kraaijeveld and Chef Justin Niessen share advice on natural and artificial lighting, composition and angles, and other photography principles – while also sharing food photography editing tips for creating stunning food photos on your smartphone.
Registration is free. Get started today!